The mechanical properties of polymers — tensile strength, elastic modulus, elongation at break, flexural strength, hardness, impact resistance and fatigue life — describe how a plastic or rubber part behaves under load. Testing them per ASTM and ISO standards is how QA labs prove those numbers to customers and regulators. LabsCubed builds automated testing systems (CubeOne for single-frame benches, CubeTen for high-throughput carousels) that make those numbers repeatable batch after batch — the recurring problem this guide addresses.
In this guide you'll learn which mechanical properties matter for polymers, how to test them, which ASTM/ISO standards govern the work, where operator-to-operator variability slips in, and how automation typically reduces it.
What is polymer mechanical testing?
Polymer mechanical testing is the process of applying a controlled force — pulling, pressing, bending, hitting or cycling — to a standardised specimen and recording how the material responds. The output is a stress-strain curve and a set of derived numbers (yield stress, modulus, elongation, toughness) that let engineers predict how a moulded part will behave in service.
Because polymers are viscoelastic — their response depends on strain rate, temperature and history — the test method is just as important as the material. Two labs testing the same polypropylene grade to different rates or grip pressures will typically report different numbers. That is why every standardised test locks down specimen geometry, conditioning, speed and reporting.
Which mechanical properties matter most for polymers?
Six properties do most of the work in day-to-day polymer QA. Each answers a different question about how the material behaves under load, and each maps to a specific ASTM or ISO standard. Together they are what a Certificate of Analysis actually reports, and what a customer audit will trace back to raw data.
How strong is it? (Tensile strength and yield stress)
Tensile strength is the maximum stress a specimen carries before it breaks; yield stress is where it starts to deform plastically. These are the headline numbers on most polymer datasheets, measured to ASTM D638 (plastics), ISO 527, ASTM D412 (elastomers) or ISO 37. For a working walkthrough of how the test itself runs, see our overview of what tensile testing is and why it matters.
How stiff is it? (Elastic modulus)
Young's modulus — the initial slope of the stress-strain curve — tells you how the polymer resists small elastic deformation. Modulus is far more sensitive to strain-rate error than tensile strength; even a small variation in crosshead speed near the origin of the curve can shift reported modulus by several percent.
How far does it stretch? (Elongation at break)
Elongation at break separates brittle grades from ductile ones and is the key number for rubber and TPE products. Because elastomers routinely stretch 200–800%, contact extensometers slip or fall off, so most labs move to non-contact video extensometry — a workflow LabsCubed's platforms run by default.
How does it bend? (Flexural strength and modulus)
Flexural testing (ASTM D790, ISO 178) uses three-point bending to measure how a specimen resists a slow bending load. For a fuller treatment of the geometry, span-to-depth ratios and typical pitfalls, see our guide to ASTM D790 and ISO 178 flexural testing.
How hard is it? (Durometer and Rockwell)
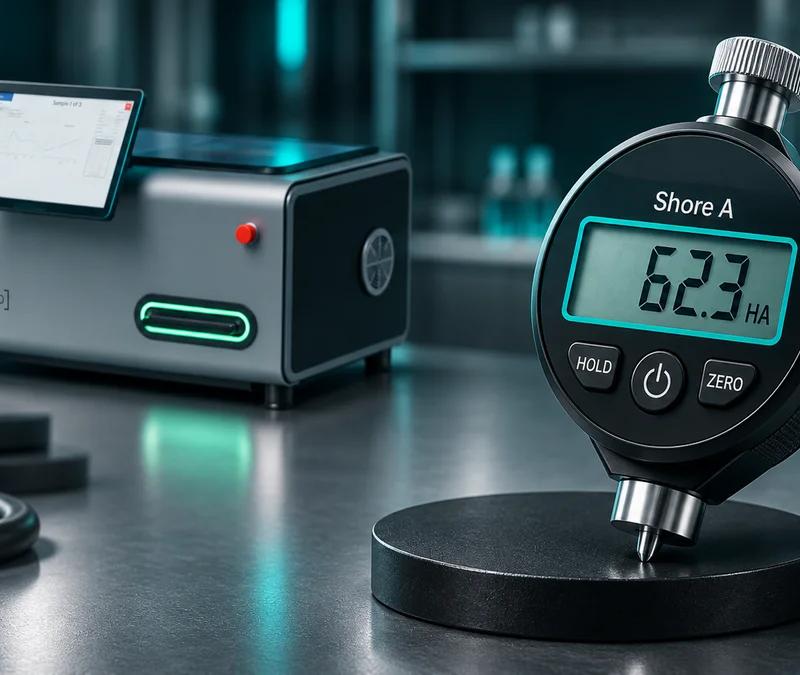
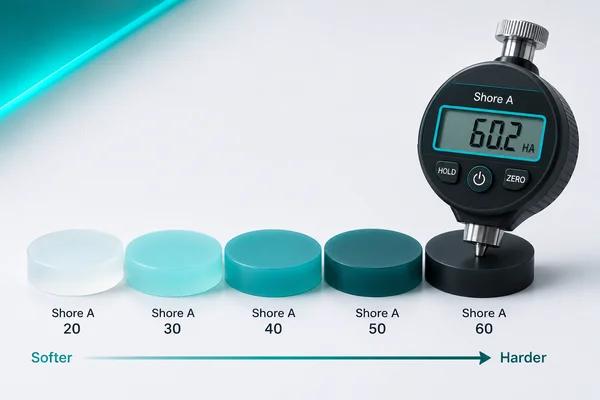
Hardness (Shore A/D for rubber, Rockwell M/R for rigid plastics) is a fast surrogate for stiffness. It is cheap and quick — but hand-held durometers are the single most operator-dependent test in a polymer lab, which is why automated indent stations are the norm on modern QA lines.
How does it hold up over time? (Impact, fatigue and creep)
Notched-Izod and Charpy impact tests report toughness under high strain rate. Fatigue testing cycles the specimen to failure to predict service life. Creep measures slow deformation under a constant load. All three are hard to run manually because each takes hours to days per specimen — a natural fit for unattended automation.
Which polymer testing standards should you follow?
Standards lock down geometry, conditioning and speed so a datasheet number from one lab means the same thing in another. For polymer QA, the short list is:
- Tensile — plastics: ASTM D638, ISO 527-1/-2
- Tensile — thin films: ASTM D882
- Tensile — vulcanised rubber and TPEs: ASTM D412, ISO 37
- Flexure: ASTM D790, ISO 178
- Compression: ASTM D695, ISO 604
- Hardness: ASTM D2240 (Shore), ASTM D785 (Rockwell), ISO 7619-1
- Impact: ASTM D256 (Izod), ISO 179 (Charpy)
- Conditioning: ASTM D618, ISO 291 (23 °C / 50% RH, typically 40+ hours before test)
Whichever standard you cite on a Certificate of Analysis, an auditor will check three things: the reported specimen geometry, the conditioning record, and the raw stress-strain data. Missing any one is the fastest way to fail a customer audit.
How do you actually run a polymer mechanical test?
Every mechanical test on a polymer follows the same six-stage workflow, whether the frame is manual or automated. Where operator-to-operator variability creeps in is different in each stage.
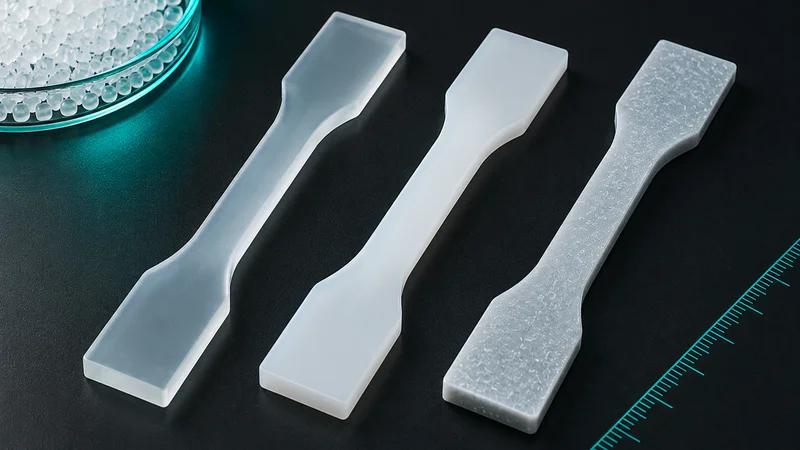
- Specimen preparation. Injection-mould or die-cut dumbbells to the standard's geometry. Measure width and thickness at three points on the gauge length with a micrometer — an inaccuracy of 50 μm on a 4 mm-thick specimen is a 1.25% error on every stress calculation downstream.
- Conditioning. Sit the specimens at 23 °C and 50% RH for the time the standard requires. Skipping this is the most common finding in QA audits, and temperature and humidity noticeably move tensile numbers.
- Grip alignment. Load the specimen so its axis lines up with the crosshead. Misalignment biases both modulus and elongation.
- Extensometer setup. A contact extensometer clips onto the gauge length; a video extensometer tracks fiducial marks. Video is the right choice for high-elongation grades because it never touches the specimen.
- Run. Pull, press, bend or cycle at the standard's specified rate. Sample the load cell and extensometer at ≥50 Hz so the yield region isn't undersampled.
- Report. Save the raw stress-strain curve, the derived numbers, and the specimen dimensions in a record that ties back to a lot number. This is the audit trail.
For a systems view of where automation fits across the whole polymer QA workflow, see our guide to robotic material testing.
Manual vs. automated polymer testing: where does variability come from?
Most operator-to-operator variability in a polymer lab is not skill; it is workflow. A trained technician doing five batches in a row will deviate from themselves on batch three or four because human attention drifts. That drift shows up as a wider standard deviation on modulus and elongation, and eventually as scrap. Automation removes it by doing the same specimen loading, grip pressure, alignment and rate every single time.
The table below shows the workflow differences most labs see when they compare a bench-top manual setup to LabsCubed's CubeOne or CubeTen platforms. Numbers are typical ranges; your throughput will depend on specimen type and standard.
| Manual testing |
Recommended CubeOne / CubeTen |
|
|---|---|---|
| Hands-on time per batch | Up to 4 hours | Under 15 minutes |
| Specimens per unattended run | 1 | Up to 15 |
| Modulus repeatability (typical CV) | 3–6% | 1–2% |
| Video extensometer as default | ||
| ASTM D638 / ISO 527 / ASTM D412 / ISO 37 audit trail | Manual entry | |
| Lot traceability on every specimen | Depends on technician | Automatic |
What are the most common mistakes in polymer mechanical testing?
Nine times out of ten, a bad datapoint on a polymer test is a workflow problem, not a material problem. The recurring ones we see when we visit customer labs are:
- Skipping conditioning. Reporting a tensile number on a specimen that was moulded that morning is the fastest way to fail an audit.
- Grip slippage on soft rubber. Using pneumatic grips at the wrong pressure crushes the shoulders or lets the specimen creep out mid-test.
- Contact extensometry on high-elongation grades. The knife-edges slip or the extensometer flies off; the elongation number is meaningless.
- Wrong crosshead speed. Running 5 mm/min when the standard specifies 50 mm/min changes yield stress by up to 10% for many thermoplastics.
- Under-sampled data. A 10 Hz sample rate misses the yield peak on a fast test. Modulus goes with it.
- Missing lot traceability. Numbers with no lot or batch link cannot be defended in a customer complaint.
How can automation reduce operator-to-operator variability?
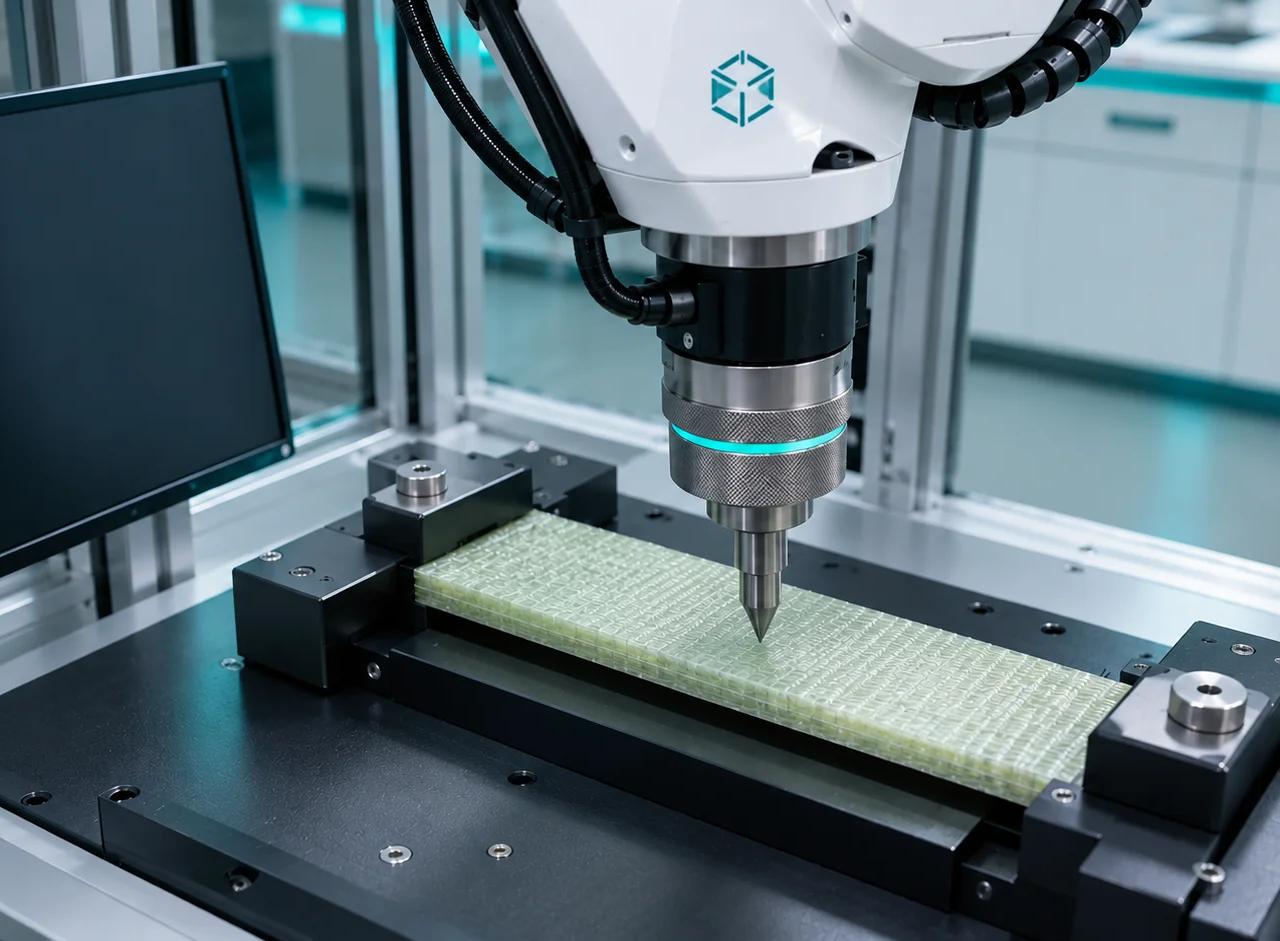
Automation reduces variability at three points: loading, running, and reporting. A robot places every specimen at the same alignment, applies the same grip pressure, and starts every test at the same conditioning delay. The frame runs the standard's exact rate. The software writes the raw curve, the derived numbers, the specimen dimensions and the lot ID to the audit trail without a technician touching the keyboard.
For a plastics lab running ASTM D638 or ISO 527 on production polypropylene, that typically means a repeatability improvement of up to 40% on modulus standard deviation, and a technician-time reduction from around four hours per batch to under fifteen minutes of hands-on setup. CubeTen carousels can run up to fifteen specimens unattended before a technician has to reload. For rubber and TPE work, CubeOne pairs pneumatic grips with video extensometry — the combination that stops the slip-and-flyoff problem on ASTM D412 and ISO 37.
The point is not that automation is faster (though it is). The point is that the same standard, the same operator, and the same lot produce the same numbers on Monday morning and Friday afternoon. That is what a QA team is paid to deliver.
Frequently asked questions
What is the difference between mechanical properties and testing of polymers?
Mechanical properties (tensile strength, modulus, hardness, elongation, impact, fatigue) describe how the polymer behaves under load. Testing is the standardised procedure — ASTM D638, ISO 527, ASTM D412 and so on — used to measure those properties. The properties are the answer; the testing is how you get to it repeatably.
Which ASTM standard covers tensile testing of plastics?
ASTM D638 is the primary tensile standard for rigid and semi-rigid plastics; ISO 527-1 and 527-2 are the equivalent international standards. For thin films, use ASTM D882. For vulcanised rubbers and thermoplastic elastomers, use ASTM D412 or ISO 37 instead.
How do you measure the elongation of a rubber specimen without the extensometer slipping?
Use a non-contact video extensometer. It tracks fiducial marks printed on the specimen, so it never touches the sample and cannot fall off during a 500% stretch. CubeOne runs a video extensometer as standard for exactly this reason.
Why do two labs get different results on the same polymer?
Typically because one of four variables was not controlled: conditioning (moisture and temperature history), specimen geometry (moulded vs. die-cut), crosshead speed, or grip pressure. Automating the workflow removes three of the four; standardising the conditioning room closes the loop.
How long does polymer conditioning take before testing?
ASTM D618 and ISO 291 typically require 40 hours minimum at 23 °C and 50% RH, though hygroscopic polymers like nylon may need longer. Documenting the conditioning duration on the test record is a standard audit requirement.
Can automated testing systems handle both plastics and rubber?
Yes. CubeOne is optimised for single-frame benches running ASTM D412 and ISO 37 on rubber and elastomers, and CubeTen is optimised for high-throughput ASTM D638 and ISO 527 on plastics. Both platforms share the same software, audit trail and data model, so a mixed lab reports on one workflow.
Tired of chasing operator variability?
Book a 20-minute walkthrough of CubeOne and CubeTen. Bring your standards, your polymers and last month's data — we'll show you where automation closes the gap.